A cube LED display acceptance test can expose problems that are difficult to correct after installation: visible corner gaps, faces mapped in the wrong order, content that breaks at an edge, or service access blocked by the mounting structure. The test turns those risks into observable checks before final approval. This guide gives overseas buyers a practical process for inspecting a cube LED display, recording evidence, and closing open items without relying on vague impressions such as “the screen looks fine.”
Define the approved cube before testing begins
Acceptance becomes messy when the purchase order describes only a total screen size. A cube has several viewing faces, several corner relationships, and a content canvas that may behave differently on each face. Put the approved configuration on one page before anyone starts checking the hardware.
- Number of active faces and the finished dimension of each face
- Floor-mounted, wall-supported, or suspended orientation
- Primary viewing zones and normal viewing distance
- Whether faces show separate content, synchronized content, or one continuous composition
- Required signal inputs, controller layout, and content resolution
- Planned front, rear, top, or internal maintenance route
- Approved external finish and any visible structural surfaces
If the project is still at the category-selection stage, use the LED display product catalog to compare the cube with other creative, indoor, and rental formats. The acceptance plan should follow the product actually ordered, not a generic LED wall checklist.
Use a cube LED display acceptance test with evidence
Agree on the test method and the evidence required for each item. This prevents a photo taken from a favorable angle from becoming the only proof of quality.
| Acceptance item | Practical check | Evidence to keep |
|---|---|---|
| Face geometry | Measure each finished face and compare opposite edges and diagonals | Dimension sheet and dated photos |
| Corner appearance | View every corner from the agreed audience zones with bright and dark content | Photos from named viewing positions |
| Face mapping | Run numbered or color-coded test content on every face | Mapping file and short video |
| Image consistency | Compare color, brightness, and low-gray behavior across faces | Approved test pattern results |
| Service access | Demonstrate removal and replacement of an agreed service part | Service video and access notes |
| Final records | Match serial or position references to drawings, spares, and packing | Signed punch list and file index |
Inspect the prebuild from real viewing zones
A close-up photo is useful for workmanship, but it does not show what an audience will see. Mark the planned front, diagonal, side, and elevated viewing positions on the inspection floor. Run the same test sequence while recording from each position. If the final cube will be suspended, also confirm which surfaces remain visible from below.
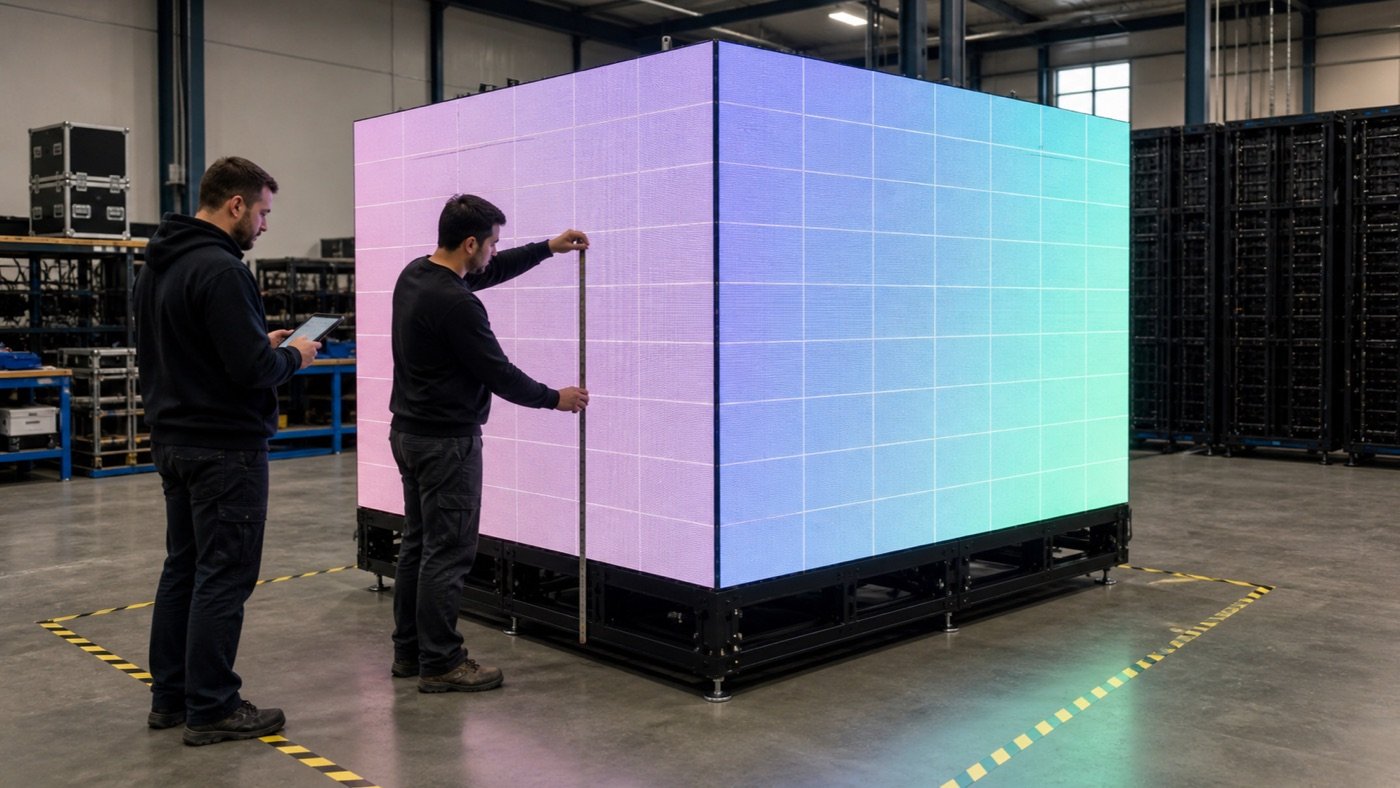
Check corners with more than one content type
Solid bright fields can reveal dark gaps, while dark fields can expose light leakage or mismatched edges. Fine grids and slow-moving lines help show whether adjacent faces are physically aligned. A natural video clip then confirms whether the result remains acceptable with real content. Record the camera position and avoid using only a wide-angle phone image, which can hide or exaggerate corner geometry.
Prove the mapping at every edge
Ask for a test canvas that labels each face and each orientation. Confirm the top edge, bottom edge, left-to-right order, and rotation before testing continuous content. If the creative concept crosses corners, run a slow line, grid, or recognizable object through every transition. Save the final mapping file with the controller backup instead of accepting a demonstration that cannot be reproduced later.
Test service access before the structure is closed
Maintenance access is a purchasing decision, not an installation detail to solve later. The mounting frame, decorative cladding, ceiling clearance, and cable route can all turn a serviceable module into an inaccessible one. Ask the supplier or integrator to demonstrate the agreed service path on the actual prebuild.
- Identify which face or panel provides access.
- Remove the agreed component using the planned tools.
- Show how cables and connectors are supported during service.
- Replace the component without disturbing an adjacent corner.
- Restore the image and confirm the original position or calibration reference.
- Record any minimum clearance the venue must preserve.
For broader application planning, the LED display solutions overview can help your team connect the screen format to the installation environment and maintenance route.
Confirm content delivery, not just hardware operation
A cube can pass a power-on test and still fail the buyer’s content workflow. Ask the content team to provide one final-resolution sample before approval. Check face order, rotation, crop behavior, frame boundaries, and the handoff between the media player and controller. If faces will normally carry separate messages, test that mode too.
Keep a clean master package containing the approved canvas dimensions, a face diagram, sample files, playback instructions, and the final configuration backup. File names should identify the project and version without depending on a single employee’s memory.
Add these fields to the RFQ and approval record
- Number and orientation of active faces
- Finished face dimensions and allowable project tolerance
- Mounting method, support responsibility, and accessible service route
- Primary viewing positions and representative inspection distance
- Separate-face or continuous-canvas content behavior
- Signal source, controller handoff, and required backup files
- Requested prebuild evidence: photos, videos, measurements, and file list
- Punch-list owner, correction deadline, and final acceptance authority
Use examples carefully. The project cases page can help explain the intended environment, but a reference image does not replace a dimensioned drawing or an agreed acceptance method.
Watch for acceptance red flags
- The supplier will show only one camera angle or one promotional video.
- Face dimensions are described without a drawing or orientation reference.
- Corner appearance is discussed, but no viewing positions are agreed.
- The content map exists only on the technician’s computer.
- Service access is promised without a removal-and-replacement demonstration.
- Open items are discussed in chat but never entered on a dated punch list.
None of these automatically proves that the product is unsuitable. They show that the approval evidence is incomplete. Convert each red flag into a named test, owner, and deliverable before shipment or final installation approval.
Close the test with a usable project record
The completed cube LED display acceptance test should be useful to procurement, installation, content, and service teams. Include the approved drawing, measured dimensions, face map, inspection media, controller backup, service notes, spare-position references, and a closed punch list. Record any accepted deviation clearly rather than allowing it to disappear inside email threads.
Planning a cube LED project? Send Mirun your active-face count, side dimensions, mounting method, viewing zones, content behavior, and delivery country. The team can use that project brief to discuss a practical configuration and quotation without inventing missing requirements.
Need help choosing the right LED display?
Tell us your installation scene, screen size, pixel pitch target and timeline. Mirun Hailian can help match the right product configuration.