A supplier plays a sharp landscape video on an LED wall. Your team connects a laptop, opens a drawing or dashboard, and finds that small colored labels look softer than expected. The wall still reports the requested resolution. Before changing the screen specification, check what happens to color detail along the signal path.
For desktop graphics, LED display chroma subsampling belongs in the acceptance plan alongside resolution, refresh rate and scaling. Ask whether the complete route preserves the required color detail at the exact operating mode you will use. Then check it with a controlled digital pattern and representative project content. A specification for one input port does not establish the result through every processor, extender and playback route.
Why a 4K label does not settle text clarity
Resolution describes the image’s pixel dimensions. It does not, by itself, state how color information is sampled or processed. A signal can retain its stated dimensions while carrying less spatial color detail. That distinction matters when the content includes thin colored lines, small spreadsheet labels, diagrams or application interfaces.
A video demonstration can still be useful, but it answers a different content question. Review material that resembles the work the wall must support. For an indoor LED display used for design reviews, include the drawings and annotations that people actually need to distinguish. For a presentation venue, include a real slide at the intended size.
What do 4:4:4, 4:2:2 and 4:2:0 mean?
In a YCbCr representation, luma and the two color-difference components can be sampled at different spatial rates. The familiar ratios describe chroma sampling relative to luma. They do not describe the LED cabinet’s physical arrangement of red, green and blue emitters.
Microsoft’s YUV-format documentation defines the common sampling relationships:
| Format | Chroma sampling | Buyer implication |
|---|---|---|
| 4:4:4 | No chroma downsampling | A useful requirement when fine color detail must survive the route |
| 4:2:2 | Half the horizontal chroma sampling; unchanged vertically | Check narrow colored edges in the actual content |
| 4:2:0 | Half the horizontal and vertical chroma sampling | Check both directions when assessing fine graphics |
These are sampling descriptions, not an overall picture-quality ranking. Content, processing and viewing conditions still affect the result. A workflow based on video may legitimately use subsampled material, while another workflow must preserve fine desktop graphics.
RGB output and YCbCr 4:4:4 can both carry full spatial color sampling, but they are different representations. Their labels do not guarantee that every later stage preserves that information. Likewise, converting a subsampled source to a 4:4:4 output format does not recreate all original color detail that was discarded earlier.
Specify one complete operating mode
Replace a request for “4K support” with a record of the combination you need: input dimensions, progressive or interlaced scan, refresh rate, color format, bit depth, and SDR or HDR operation. Add the required input, output, scaling mode and number of simultaneous sources.
For example, “3840 × 2160, progressive, 60 Hz, RGB or YCbCr 4:4:4, 8 bits per component, SDR” is a much clearer starting point for a desktop test. It is an illustrative request, not a recommended mode for every wall. Your processor and LED canvas may require a different arrangement.
Do not assemble a specification from separate maximum values on a brochure. The highest resolution, highest refresh rate and highest bit depth may not be available together on the selected route. NVIDIA’s display-control documentation describes color depth and output format as distinct controls, and notes that bandwidth can limit available depth options.
Use the video processor input checklist to connect each required mode to its source and port. Ask the supplier to identify supported combinations explicitly, including any restrictions when scaling, multiple windows or transport devices are used.
Follow color detail through the complete route
Draw the path from application to LED wall. Include the source computer or player, dock or adapter, switcher, extender, processor and the configured display output. If content travels through an encoder or wireless presentation device, include that stage too.
For each device, separate the signal it can accept from its internal processing and the signal it can send onward. An input status page reporting 4:4:4 only describes that observation point. It does not prove that all subsequent processing remains full chroma.
Ask which status information is available during the demonstration. A source settings screen, processor input readout and saved configuration are useful records when their roles are clear. Where the device does not expose its internal processing, request the manufacturer’s documentation and assess the complete route with the agreed content.
A practical question for the quotation is: “Which of our specified operating modes preserve the required color detail through the supplied signal path, and how will you demonstrate that?” The answer should name the actual equipment and mode.
Choose content that can reveal a problem
Use a digitally defined test pattern with known dimensions and fine colored features, together with real application content. Keep the original file and its version. A downloaded image that has been resized or recompressed several times is a poor reference for a precise comparison.
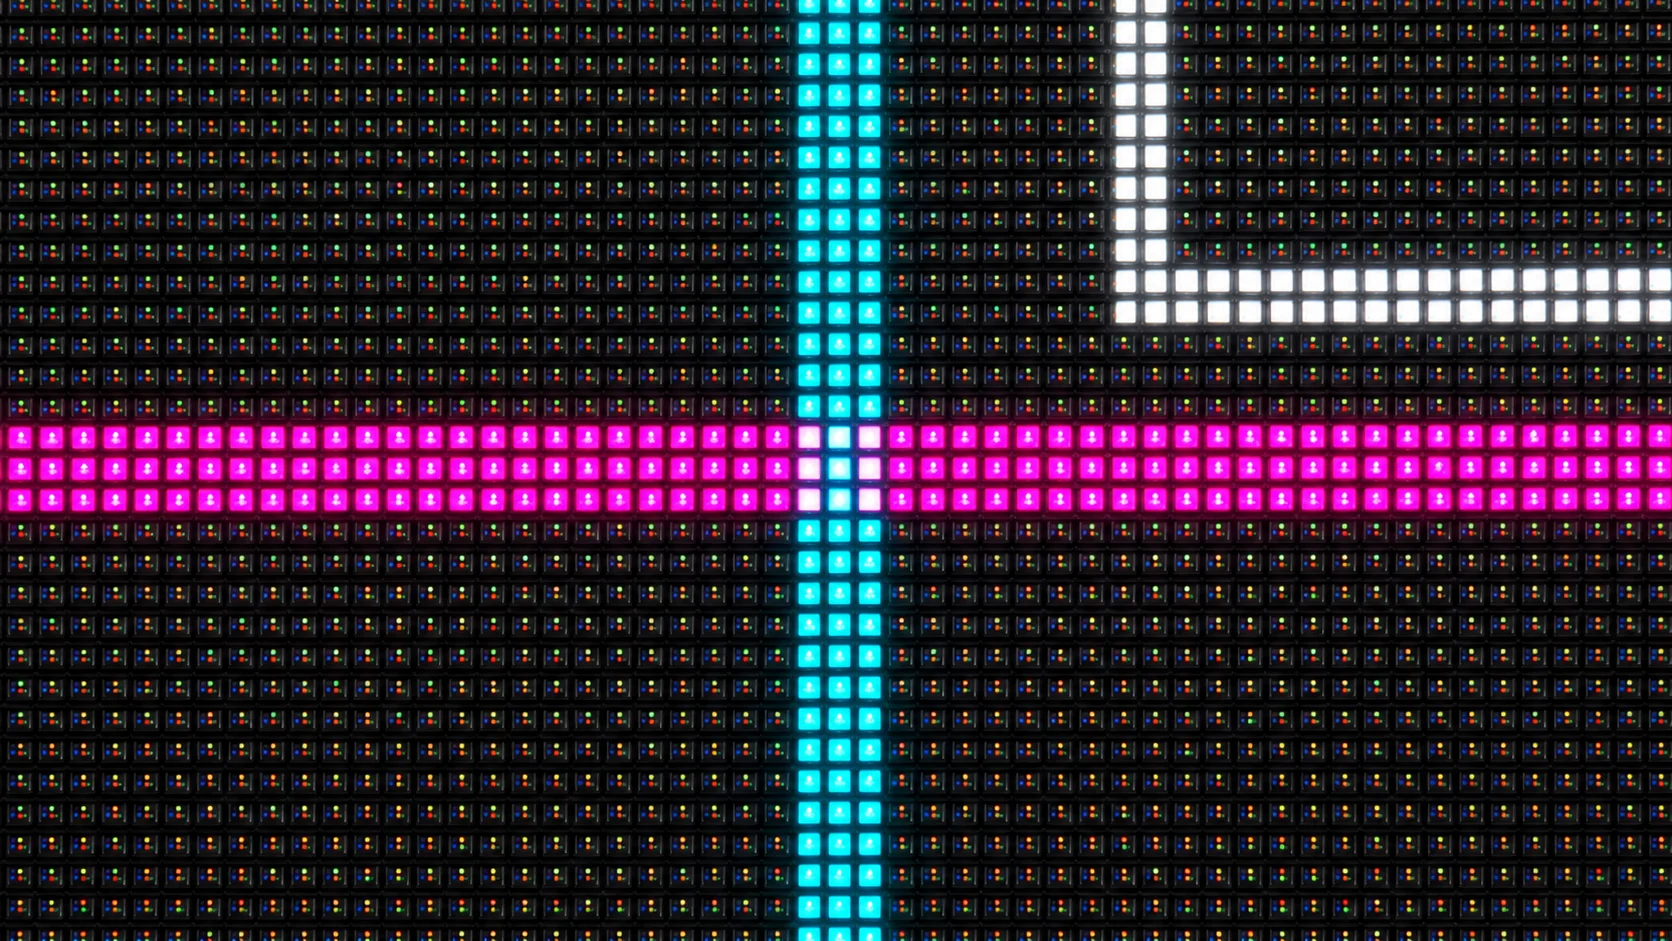
Choose test material that includes colored horizontal and vertical detail as well as neutral detail. The point is to see whether the route changes the features you need to preserve. Do not invent an acceptance threshold after looking at the result.
Control how the test file reaches the screen. Record application zoom, operating-system scaling, player output and processor mapping. A one-pixel feature in the file is not necessarily one physical LED pixel after resizing. If a diagnostic comparison requires one-to-one mapping, have the integrator establish it and record the relevant area of the canvas.
Then restore the intended production layout and review normal work. A diagnostic pattern can reveal processing behavior without proving that the smallest business-critical label is readable from every required seat. The text-readability guide covers that separate acceptance question.
Compare a baseline with the supplied system
A useful test has a reference, a controlled change and a repeatable record. Agree the routes before the demonstration so that the result can be explained.
Establish the reference route
Where supported, start with the simplest documented connection from the known source to the processor. Use the agreed output mode and content. Record the processor settings, scaling and LED canvas dimensions. This establishes a comparison condition; it does not independently certify the processor’s internal behavior.
Check both the digital pattern and the application content. Keep neutral detail and colored detail in the record. If the reference already has a problem, resolve it before using that image to approve other routes.
Add the equipment in the quotation
Repeat the same content through the proposed dock, switcher, extender or presentation system. Change one stage at a time when practical. Keep the output mode and downstream settings fixed where the equipment permits it.
If an added stage changes the image, record what changed and have the integrator investigate. The result may point to format negotiation, scaling, compression or another processing setting. It is evidence for a focused check, not automatic proof that the last cable or device is defective.
Recheck normal operation
Run the final route with the approved production settings. Include the laptop connections and presets that users will select, rather than approving only an engineer’s temporary setup. After a normal reconnect or preset recall, confirm that the intended mode is restored.
Record any necessary operating procedure. A configuration that works only when somebody manually corrects the output after each connection needs an explicit handover decision.
Keep other causes of soft detail in view
Chroma subsampling is one possible cause. Scaling, an unsuitable source file, font rendering, processing filters and the wall’s available pixel resolution can also affect the image. If both neutral and colored detail look soft, broaden the investigation before changing the chroma setting alone.
Bit depth answers a different question from spatial color sampling. More bits per component provide more representable levels; that does not make 4:2:2 into 4:4:4. Review HDR and wide-color-gamut requirements with the complete operating mode if those features belong in the project.
A close phone photograph also includes the camera’s focus, image processing, exposure and interaction with the LED grid. Use photographs to document the setup and observations. Do not use a compressed photo alone to certify a precise signal format.
Where the source is already subsampled, judge the wall against an appropriate source reference. Otherwise the display may be blamed for detail that was absent before the signal reached it.
Put the result into the purchase and handover records
Keep a compact acceptance record for each required route. Include the source device, application or test file, output mode, intermediate equipment, processor configuration, canvas mapping, observations and approver. Name any exception and its effect on the intended use.
The commercial scope should identify who supplies and configures adapters, transport devices and processors, and who resolves an unsupported mode. Compare quotations on that complete scope. A lower equipment price may omit a conversion or transport stage that your workflow still needs.
Preserve the accepted settings with the display configuration backup. Record the relevant device and software versions so that a replacement computer or processor can be checked against the approved arrangement. A later change should trigger a proportionate recheck of the affected route.
Before approval, the buyer should be able to answer four questions:
- Which exact operating modes and source routes were accepted?
- What happened to the selected colored and neutral test features?
- Did the real application content remain usable in the intended layout?
- Which settings, exceptions and responsibilities were handed over?
LED display chroma subsampling becomes a useful purchase requirement when it is tied to those records. The goal is an agreed level of detail in the applications your team uses, supported by a repeatable test.
For a configuration discussion, send Mirun Hailian your project details: screen dimensions and native pixel canvas, source devices, representative content, viewing positions, required refresh rate and color depth, SDR/HDR needs, connection routes and approval schedule. Ask which proposed configuration can support and demonstrate those requirements.
Buyer FAQs
Does an HDMI or DisplayPort connector guarantee 4:4:4?
No. The connector name alone does not establish the supported operating combination or the processing inside every connected device. Confirm the mode, equipment and complete route, then verify the agreed detail with the test content.
Should every LED video workflow require 4:4:4?
No single requirement fits all content. A desktop workflow with fine colored graphics may need full chroma throughout. A video workflow may use subsampled sources by design. Specify the result the application needs and compare it with an appropriate reference.
Can a screenshot prove the LED wall preserves color detail?
A source screenshot shows the captured content at that point in the workflow. It does not show all later transport and display processing. Keep it as a source reference, then document the connected system and the result observed on the wall.
Need help choosing the right LED display?
Tell us your installation scene, screen size, pixel pitch target and timeline. Mirun Hailian can help match the right product configuration.