A supplier tells you the LED display has a “high refresh rate,” so the screen should look great on camera. Then the first rehearsal starts and the production team sees dark bands, flicker, or uneven gray tones in the shot. This is exactly why B2B buyers should treat LED display refresh rate as a tested system result, not just a big number in a quotation. The display hardware matters, but so do the driver configuration, brightness settings, video processing, camera frame rate, shutter, and the actual way the screen will be used.
What LED display refresh rate actually means
In practical terms, refresh rate describes how frequently the LED system redraws or drives the image. A higher, properly implemented refresh rate can make it easier for a camera to capture the display without visible scanning bands or flicker. That is especially important when the screen will appear in broadcast, livestream, event, studio, sports, or slow-motion footage.
But refresh rate does not tell you everything about image quality. A screen can have an impressive headline specification and still perform poorly at low brightness, on gray gradients, or with a particular camera setup. The final result depends on the complete LED display configuration and the shooting conditions.
Refresh rate, frame rate, and scan rate are not the same
| Term | What it describes | Why the buyer should care |
|---|---|---|
| LED refresh rate | How frequently the display driving system refreshes the LEDs | Affects visible bands and flicker during camera capture |
| Video frame rate | How many content frames are delivered each second | Affects motion appearance and the source workflow |
| Camera frame rate | How many frames the camera records each second | Changes how the camera samples the LED output |
| Camera shutter | How long each camera frame is exposed | Can reveal or reduce rolling bands and flicker |
| LED scan configuration | How groups of LED rows are driven over time | Works with the driver IC and settings to affect camera performance |
| Gray-scale performance | How smoothly the display reproduces dark-to-light steps | Important for faces, shadows, gradients, and low-brightness scenes |
These terms interact, but you cannot substitute one for another. Sending high-frame-rate content does not automatically increase the panel refresh rate. Likewise, a high LED refresh-rate setting does not guarantee that every camera shutter value will be band-free. Your screen resolution and controller mapping also need to be correct, which is covered in our LED display resolution planning guide.
For current rental product references, compare the R Series models with a catalog refresh rate of at least 3840 Hz and the H/K Series pitch, scan and 3840/7680 Hz configuration options. These catalog figures are starting points for selecting a configuration; camera compatibility still needs a test with the intended source, controller and shutter settings.
When camera-friendly performance should be a priority
- Broadcast studios: the LED wall may remain on camera for long periods and must hold smooth gradients and skin tones.
- Concerts and corporate events: multiple cameras, IMAG, livestreams, and audience phones can all view the same screen differently.
- Virtual production: the camera, processing chain, display timing, and content engine must work as one system.
- Sports venues: fast motion and high-frame-rate capture can make timing problems easier to see.
- Retail and showrooms: campaign teams may regularly film social content in front of the display.
- Outdoor advertising: news crews, customer cameras, and promotional filming can expose artifacts that are not obvious to the eye.
If the screen is mainly viewed by people in person and rarely filmed, the purchase decision may balance refresh performance with brightness, power use, cost, and serviceability. If cameras are central to the project, put the filming requirements in the project brief before requesting a quote.
Why the headline refresh-rate number is not enough
The advertised value should apply to the exact module, driver IC, scan configuration, receiving-card settings, brightness mode, and firmware delivered for your project. Ask whether changing brightness or gray-scale settings affects the usable refresh configuration. Also confirm that the sample, production batch, and final configuration use the same key components.
Two screens with the same stated refresh rate can look different on camera because their driving and calibration are different. Black-level behavior, color uniformity, gray-scale transitions, cabinet consistency, and processing delay can all influence the result. That is why a practical test is more useful than comparing one number across two quotes.
Run a real camera test before approval
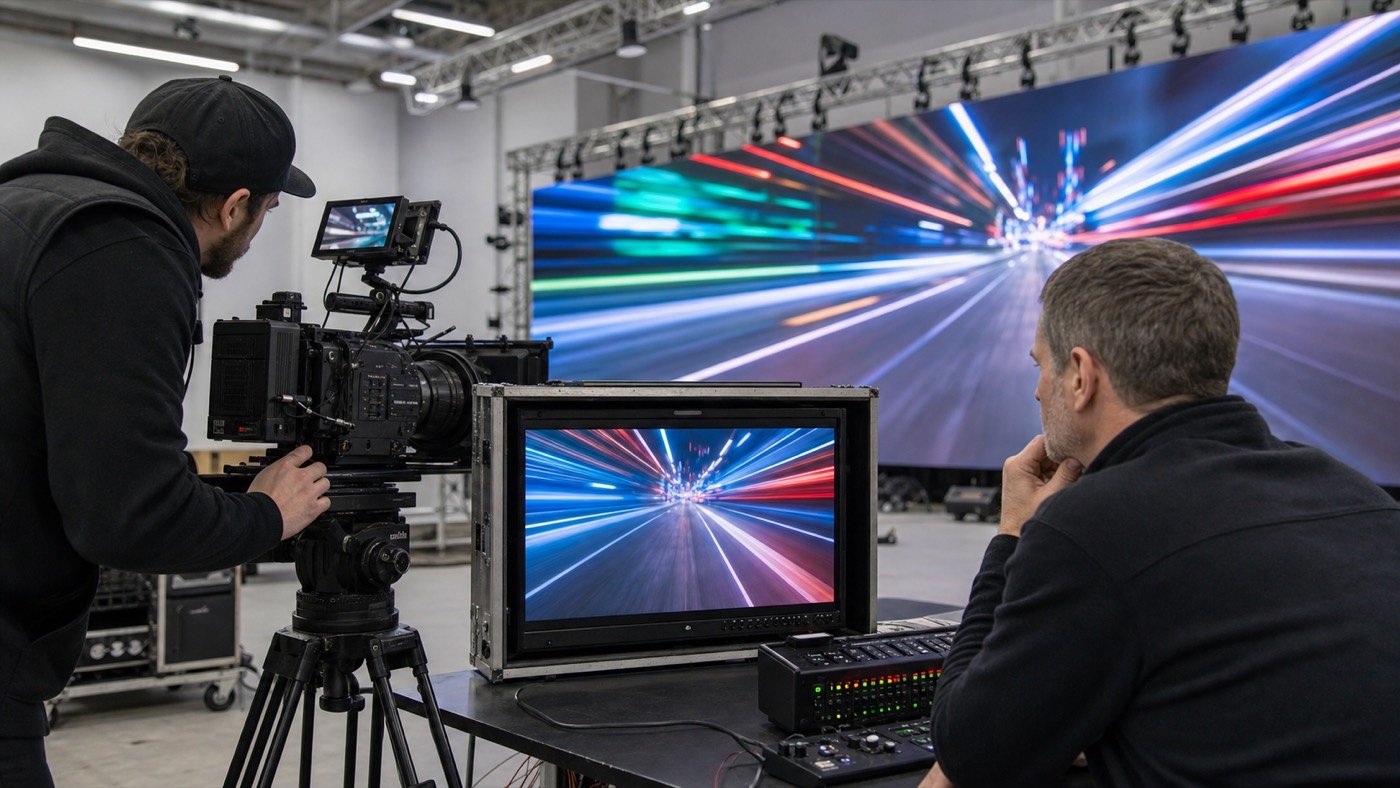
Use the camera models, frame rates, shutter ranges, lenses, and shooting distances expected on the project. A phone video can be a quick check, but it is not a replacement for the production camera when the display will be used for professional filming.
- Set the display to the planned brightness and color mode.
- Show white, black, solid colors, gray steps, gradients, fine lines, and realistic motion content.
- Test the camera’s normal frame rates and shutter settings.
- Record from the expected center, side angles, close range, and long range.
- Check the camera monitor and recorded footage for bands, flicker, tearing, color shifts, and uneven low-gray behavior.
- Repeat at lower display brightness because dimmed operation can expose different artifacts.
- Save the approved LED configuration and camera-test conditions with the project documents.
If a band appears, it does not automatically prove the screen is defective. The camera shutter and display timing may need to be coordinated. The important question is whether the supplier and production team can find a stable operating range that works for the planned cameras without sacrificing the required display brightness and image quality.
What to request from the LED display supplier
- Refresh rate for the exact delivered module and configuration
- Driver IC and LED scan configuration used in production
- Supported brightness, gray-scale, and refresh operating modes
- Recommended camera-test procedure and known setting ranges
- Controller, receiving-card, firmware, and configuration-file details
- Video evidence with the camera frame rate, shutter, brightness, and content conditions stated
- Confirmation that the approved sample and bulk order use the same critical components
- A saved configuration file and recovery instructions for handover
For important projects, include these items in the technical approval record and purchase specification. A sample-order test is a good place to validate the settings, but the production screen should still be checked before shipment.
Red flags when comparing refresh-rate claims
- The supplier provides only a refresh-rate number with no module or configuration reference.
- A camera-test video does not state the camera frame rate, shutter, screen brightness, or content.
- The approved sample uses different driver or receiving components from the production quote.
- The screen looks clean on bright content but breaks down on dark gradients or low brightness.
- The supplier cannot provide the final configuration file or explain how to restore it.
- The quotation promises “no flicker on any camera” without defining a test scope.
Absolute promises are not very useful because camera systems and shooting settings vary. A defined acceptance test is much stronger. Add the approved camera procedure to your LED display pre-shipment quality checklist, and record the actual result rather than a simple pass based on the specification sheet.
A simple B2B approval checklist
- Define whether the display will be filmed, streamed, or used for slow motion.
- List the expected cameras, frame rates, shutter ranges, brightness, and content types.
- Confirm the complete LED module, driver, scan, controller, and firmware configuration.
- Test real cameras at planned brightness and viewing angles.
- Approve low-gray, gradient, motion, and skin-tone footage.
- Save the final LED settings, mapping, and recovery files.
- Repeat the key checks on the production screen before shipment or handover.
Refresh rate matters, but the buyer’s real goal is stable on-camera performance under known conditions. Treat the camera, content, processor, receiving system, LED modules, and display settings as one workflow, and you will have a much clearer basis for comparing suppliers.
For a project-specific review, send us the screen application, size, pixel pitch, expected cameras, frame rates, brightness, and filming distance. We can use those details to prepare a more useful LED display configuration and camera-test plan for your team.
Refresh Rate Comparison for Real Projects
Use the refresh-rate number as a screening tool, then verify the delivered cabinet, receiving-card and camera combination with a real test.
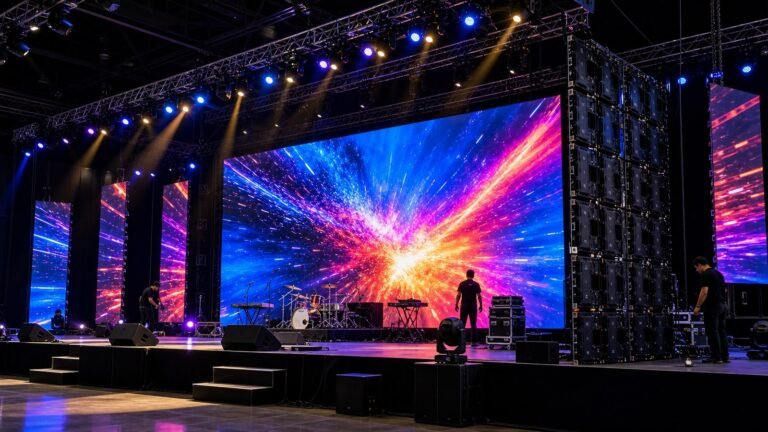
| Refresh rate | Typical project fit | Camera margin | Buyer action |
|---|---|---|---|
| 1920 Hz | Basic signage with little filming | Limited | Use only when camera performance is not important. |
| 3840 Hz | Corporate events, conferences and general rental | Good starting point | Test the planned camera and shutter range. |
| 7680 Hz | Broadcast, studio and demanding live production | Strongest margin | Confirm the driver IC, scan mode and delivered settings. |
Need help choosing the right LED display?
Tell us your installation scene, screen size, pixel pitch target and timeline. Mirun Hailian can help match the right product configuration.