When buyers compare LED display quotes, brightness is often reduced to one number: nits. That makes the decision look easy. Pick the highest number and the screen should be better, right? Not quite. A screen that is too dim can disappear in daylight, but a screen that is much brighter than the site needs can add cost, power demand, heat, and uncomfortable viewing without improving the result. The smarter move is to specify brightness around the actual installation, content, viewing hours, and acceptance test. Here is how to do that without turning the RFQ into an engineering thesis.
What LED display brightness actually tells you
LED display brightness is commonly stated in nits. One nit is one candela per square meter. In practical buyer language, the number describes how much light the screen can send toward the viewer under defined test conditions.
That last part matters. A maximum brightness number on a data sheet does not automatically tell you how the complete display will look at noon, at night, through glass, from an angle, or after months of operation. It also does not tell you whether the supplier measured one module, one cabinet, or the full calibrated screen.
So do not buy the number by itself. Buy a brightness plan and a way to verify it.
Start with the site, not the supplier’s highest spec
Before you ask for a target, describe the light competing with the screen. Is the display in a controlled conference room, a bright retail window, a shaded outdoor concourse, or direct afternoon sun? A window-facing indoor screen can need a very different setup from a screen mounted a few feet away in the same store.
Use the ranges below as discussion starting points, not universal pass-or-fail standards. Final requirements should come from the real site and viewing conditions.
| Installation condition | Useful starting discussion | What the buyer should verify |
|---|---|---|
| Indoor, controlled lighting | Roughly 500-800 nits | Comfort at normal operating level and smooth low-brightness performance |
| Bright indoor lobby or retail area | Roughly 800-1,500 nits | Reflections, glass, overhead lighting, and viewing angle |
| Display behind a sunlit window | Roughly 1,500-3,000 nits | Glass transmission, direct-sun hours, cooling, and local heat buildup |
| Outdoor shade or covered venue | Roughly 3,500-5,000 nits | Peak ambient light, viewing distance, and automatic dimming |
| Outdoor direct sunlight | Often 5,000-7,000+ nits | On-site daylight test, power planning, thermal design, and nighttime dimming |
If your supplier jumps straight to a maximum number without asking where the screen will be installed, that is a warning sign. A useful recommendation should connect brightness to the environment.
Five details that matter as much as peak nits
1. The normal operating brightness
Ask what percentage of maximum output the screen is expected to use during normal hours. A 6,000-nit outdoor screen may spend much of the day below maximum and should dim substantially after sunset. The operating plan affects viewer comfort, energy use, and thermal load. Pair this discussion with your LED display power consumption plan so the electrical estimate reflects real operating modes, not only a nameplate maximum.
2. Low-brightness image quality
A screen can look excellent at full output and lose shadow detail or color smoothness when dimmed. Ask for dark gradients, skin tones, gray ramps, and low-level video during the test. If the project will be filmed, check brightness together with the refresh-rate and camera test plan. These settings interact in the real workflow even though they are separate specifications.
3. Automatic brightness control
For outdoor and window-facing screens, ask whether an ambient light sensor is included, where it will be installed, and how the brightness schedule can be adjusted. You want clear day, evening, and nighttime levels plus a manual override. Also confirm what happens if the sensor or network connection fails.
4. Uniformity across the complete screen
A strong average reading can hide darker cabinets, bright patches, or visible color differences. Ask the supplier to show a full-screen white field and several gray levels after calibration. The acceptance record should identify the measurement points and test distance. Add this item to your pre-shipment quality checklist.
5. Performance from the real viewing angle
Do not judge brightness only from directly in front of the screen. Walk to the expected side positions and check whether the image loses intensity or shifts color. This matters in concourses, stadiums, retail corners, and roadside installations where viewers rarely stand on the centerline.
How to write the brightness requirement in your RFQ
Instead of writing only “minimum 5,000 nits,” give suppliers a short set of conditions. That makes quotes easier to compare and reduces the chance of getting three technically different proposals with the same headline number.
- Installation location and whether the screen is indoor, window-facing, covered outdoor, or fully outdoor.
- Direction the screen faces and the hours when direct sunlight reaches it.
- Normal operating hours, including evening or nighttime use.
- Target maximum brightness and expected normal operating range.
- Whether an ambient light sensor and automatic dimming schedule are required.
- Content type, viewing distance, main viewing angles, and any camera use.
- How brightness, uniformity, and low-level image quality will be measured during acceptance.
If you are still building the RFQ, use the LED display project brief checklist to keep size, pixel pitch, control, installation, and service requirements in the same document.
A practical brightness acceptance test
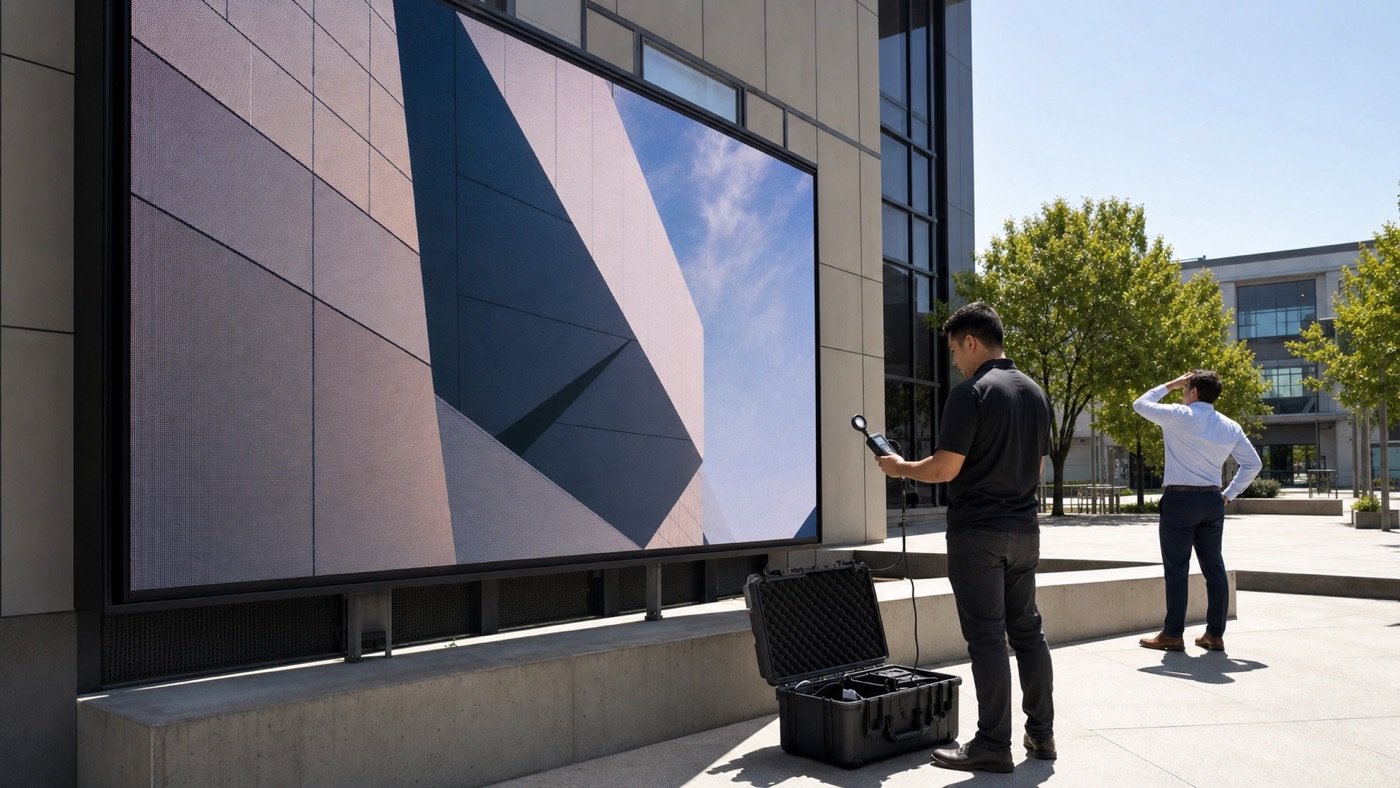
The best time to agree on the test is before the purchase order, not after the screen arrives. Ask the supplier to document the meter type, test pattern, measurement distance, screen settings, and measurement locations. Keep the same conditions when comparing a sample, a factory test, and the installed display.
- Warm up the display and use the agreed configuration.
- Measure a full-screen white pattern at agreed points, including the center and outer areas.
- Check uniformity with white, gray, and dark content instead of one bright image.
- Test both maximum mode and the normal day, evening, and night presets.
- Review the screen from the real viewing distance and key side angles.
- For outdoor projects, repeat a visibility check during the site’s brightest period.
- Save photos, settings, meter readings, and calibration files with the acceptance record.
A sample-order test is especially useful when the installation sits behind glass, faces strong sun, or must switch between daytime advertising and low-light evening content.
Red flags in a brightness quote
- The quote lists only “up to” brightness with no minimum acceptance condition.
- The supplier cannot explain whether the value applies to a module, cabinet, or calibrated full display.
- No one asks about sunlight direction, glass, operating hours, or viewing angle.
- The proposed screen has no practical nighttime dimming plan.
- Power and cooling estimates do not change when the brightness target changes.
- The supplier avoids showing gray ramps, dark video, or off-axis viewing.
- The acceptance method is described as “visual check only.”
None of these automatically means the product is poor. They do mean the quotation is incomplete, and incomplete specifications are where expensive misunderstandings tend to start.
The bottom line
The right LED display brightness is not the biggest number you can afford. It is the level that keeps content clear in the worst expected light, remains comfortable during darker hours, and can be verified under an agreed test. Give suppliers the site conditions, ask how the complete screen will be measured, and compare normal operating performance alongside maximum output.
For a project-specific recommendation, send us the installation location, screen size, pixel pitch, sunlight direction, operating hours, viewing distance, and any camera requirements. That is enough information to start a useful brightness and power discussion.
Need help choosing the right LED display?
Tell us your installation scene, screen size, pixel pitch target and timeline. Mirun Hailian can help match the right product configuration.