A high-resolution LED wall can still look cheap when the cabinet joints are easy to see. One edge sits forward, another drops slightly, and a dark line appears across content that should look seamless. For B2B buyers, LED display cabinet alignment is not just an installer detail. It affects the final image, the acceptance schedule, and how many labor hours get burned on rework.
The frustrating part is that the modules may all work perfectly. The visible seam can come from the steel structure, cabinet locks, installation sequence, module seating, or a combination of small errors. Here is how to turn “make it flat” into a clear approval process before the purchase order and before the final payment.
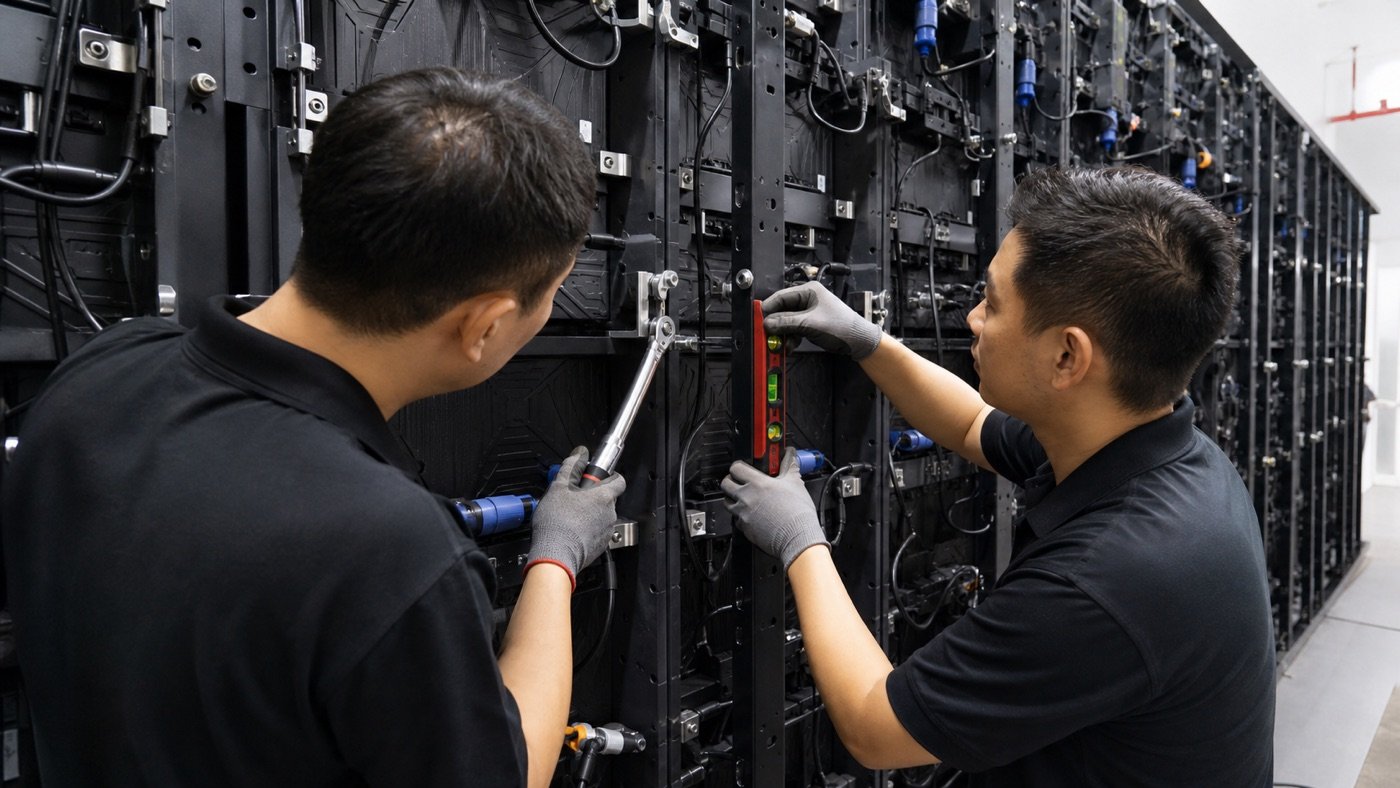
What LED display cabinet alignment actually means
Alignment has three practical parts. First, adjacent cabinets need to meet at the same height and width position, so the pixel rows continue in a straight line. Second, their front surfaces need to sit on the same plane, without one cabinet leaning or standing proud of the next. Third, the removable LED modules need to seat consistently inside each cabinet.
A problem in any one of those areas can create a bright line, dark line, shadow, or change in reflection. Buyers sometimes call every visible joint a “gap,” but the fix depends on the cause. A true physical gap, a front-to-back step, a twisted frame, and a module mask mismatch are four different problems.
Why visible seams appear after installation
The supporting structure is not flat
LED cabinets follow the structure behind them. If the mounting rails are bowed, twisted, or out of level, the screen face will usually show it. Trying to force every cabinet flat with locks alone can put stress into the frame and make the next row harder to align.
Locks and alignment pins are not fully seated
Cabinet locks pull panels together, while locating pins help place them consistently. Dirt, damaged hardware, paint buildup, loose fasteners, or the wrong locking sequence can keep a joint from closing evenly. Over-tightening one area can also pull another edge out of plane.
Modules or masks sit at different depths
The cabinet frame may be aligned while one LED module still sits slightly forward. Magnetic mounts, locating features, screws, and module masks all influence the final surface. This is why the team should inspect both cabinet-to-cabinet joints and module-to-module joints.
Shipping or handling changes the geometry
A screen can pass a factory test and still arrive with bent corners or damaged locks after rough handling. Good packaging reduces that risk, but the receiving team should still inspect cabinet frames before installation. Our guide to preventing LED display shipping damage explains what to check before the equipment leaves the warehouse.
Put alignment requirements in the RFQ
There is no useful one-line tolerance that fits every cabinet design, pixel pitch, screen size, and support structure. Instead of copying a random number into the contract, ask the supplier to state the proposed cabinet and module alignment criteria for your exact product. Then agree on the test tools, content, viewing positions, and correction process.
| Approval point | Supplier should provide | Buyer should confirm |
|---|---|---|
| Cabinet construction | Frame material, locating method, lock type, and assembly drawing | Hardware matches the installation and service plan |
| Support structure | Mounting points, rail spacing, load locations, and flatness guidance | Installer and structural team accept the interface |
| Joint quality | Proposed gap and front-surface alignment criteria | Measurement method and pass/fail process are written down |
| Visual test | Required test patterns, brightness setting, and viewing distance | Seams are checked under realistic operating conditions |
| Correction plan | Adjustment steps and replacement criteria for damaged cabinets | Responsibility is clear before site work begins |
Include the same information in your LED display installation site checklist. The cabinet supplier, structure fabricator, and installer need to agree on the interface. Otherwise, each party may assume someone else is responsible for the final plane.
How to check alignment at the factory
Factory acceptance should use an assembled section that is large enough to include several horizontal and vertical joints. A single cabinet on a table cannot prove that locks, pins, and frames repeat correctly across a wall.
- Check the unpowered screen under normal room light for physical gaps, raised corners, and uneven module depth.
- Place a long straightedge across multiple cabinet faces to find steps or rocking points.
- Use a laser line or level to confirm that rows and columns continue consistently.
- Run solid gray, white, and primary-color test patterns to reveal joint shadows and mask differences.
- View the wall from the planned audience distance and from shallow side angles.
- Record the test setup and photograph any corrected joint before packing.
Keep mechanical and optical issues separate. If the surface is flat but a line remains, the cause may be brightness or color uniformity rather than cabinet position. Use the checks in our LED display color calibration guide before adjusting hardware that is already correct.
A practical site installation sequence
The fastest installation is usually the one that establishes a reliable reference early. Verify the structure before hanging panels. Set the first row or center reference carefully, then build outward while checking each new joint. Do not install the entire wall and leave all alignment work for the end.
- Confirm the mounting rails are level, plumb, and in the same plane.
- Inspect cabinet corners, alignment pins, locks, and mounting points for damage.
- Place the first cabinets against the agreed reference line.
- Seat locating hardware before applying final lock or bolt tension.
- Check the front surface after every small group of cabinets.
- Install modules, run test content, and correct both mechanical and visual issues.
- Repeat the final inspection after trim panels and nearby construction are complete.
Service direction changes the workflow. With front-service cabinets, the structure and initial placement must be right because rear adjustment may not be available later. Rear-service screens can be easier to fine-tune, but only when the service corridor gives technicians safe access to every joint. Compare the options in our front-service vs rear-service LED display guide.
Buyer red flags during alignment approval
Be cautious when a supplier says visible seams can always be removed by software. Calibration can improve brightness and color consistency, but it cannot flatten a twisted cabinet or close a physical gap. Another red flag is an installation quote that includes no time for structure verification, progressive alignment checks, or final adjustment.
Watch for teams that judge the wall only from the center and only with bright video. High-contrast content can hide joint shadows. Low-gray patterns, flat colors, unpowered inspection, and side-angle viewing expose different problems. Your pre-shipment LED display quality check should document all of them.
LED display cabinet alignment checklist
- Has the supplier defined cabinet and module alignment criteria for this model?
- Do the cabinet drawing and structure drawing use the same mounting references?
- Are alignment pins, locks, bolts, and service tools included and identified?
- Will a multi-cabinet section be assembled for factory acceptance?
- Which straightedge, laser, level, gauge, and test patterns will be used?
- Who approves the support structure before cabinets are installed?
- Who corrects a damaged frame or out-of-plane mounting rail?
- Will the final wall be checked from the normal audience distance and side angles?
The bottom line
LED display cabinet alignment is easier to control when everyone agrees on the reference plane, inspection method, and correction responsibility before installation starts. Treat the structure, cabinets, locks, modules, and visual test as one connected system. That turns a subjective complaint about “visible lines” into a test the project team can actually pass.
If you are preparing an LED wall RFQ, send Mirun your screen size, pixel pitch, installation drawing, service direction, and viewing distance. Our team can help you review the cabinet layout, mounting interface, inspection points, and spare hardware before production.
Need help choosing the right LED display?
Tell us your installation scene, screen size, pixel pitch target and timeline. Mirun Hailian can help match the right product configuration.