A conference room screen can look impressive in a rendering and still be difficult to read, operate, film, or maintain during daily meetings. For a B2B buyer, the practical question is not simply whether a supplier offers it. The question is how to define, compare, test, and approve conference room LED wall without leaving expensive assumptions for installation or handover.
The right plan connects room geometry, content, cameras, control, and service access before hardware is selected. This guide is written for corporate IT teams, AV integrators, facilities managers, and meeting-room designers who need a usable RFQ and approval process, not another page of disconnected marketing specifications.
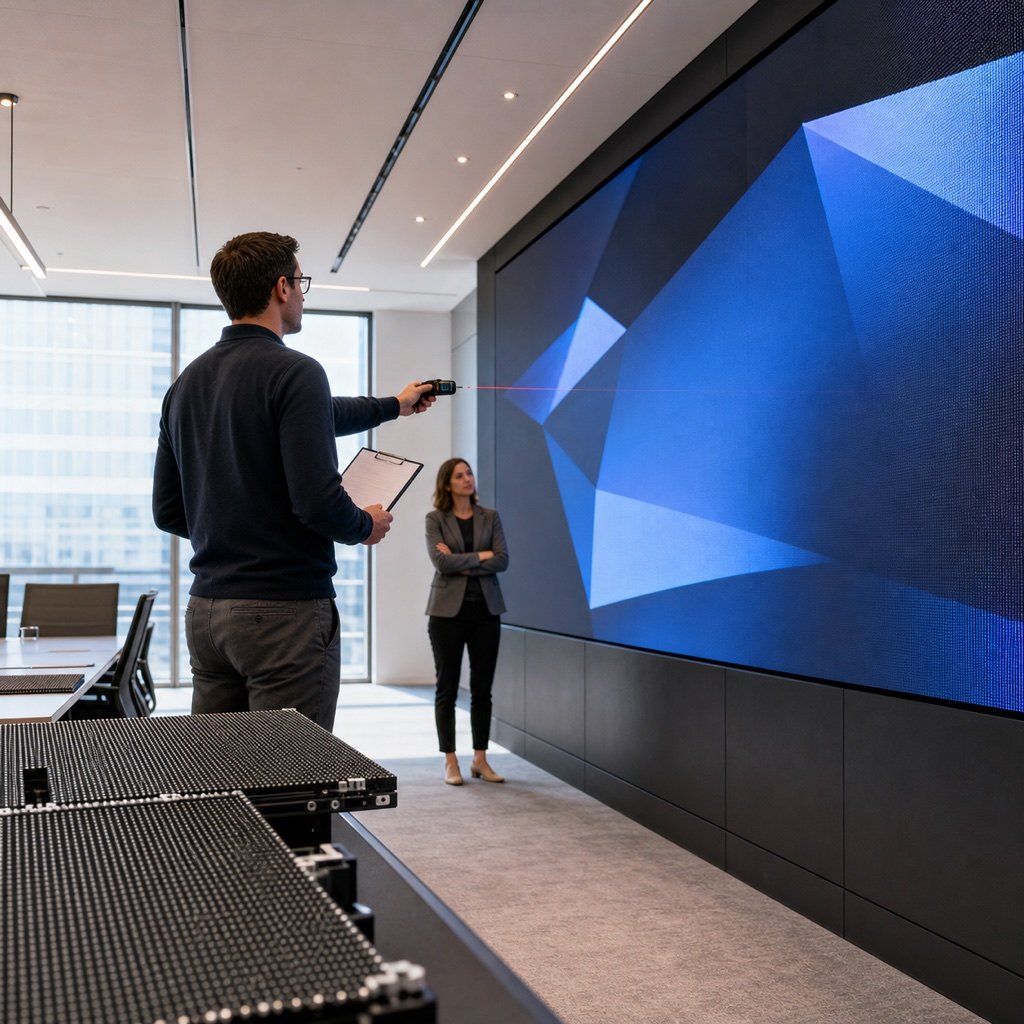
Start With Meeting Tasks and Viewer Positions
List the room capacity, closest and farthest seats, table orientation, typical spreadsheets, presentations, video calls, and camera positions. Mark standing presenters and side seats because they often expose readability and viewing-angle problems. The same LED hardware can perform very differently when the audience, content, ambient light, and operating hours change. Start with the business use case, then work backward to the screen configuration.
Choose Pixel Pitch From the Closest Useful Seat
Calculate the active resolution for the proposed wall size and compare it with the content normally shown. Test small text, dashboards, document sharing, and split-screen video layouts from the front row.
A finer pitch may improve close viewing, but it also changes cost, power, service density, and processor requirements. Buy the resolution the workflow can use. Ask the supplier to state the assumption in writing and show how the proposed product or workflow addresses it.
Coordinate Cameras and Refresh Performance
Provide camera models, frame rates, shutter practices, and intended shot angles to the supplier and integrator. Run an on-camera test with realistic brightness and content before acceptance.
A screen that looks good to the eye can still show scan lines, color shifts, or moire on video. Camera compatibility is a system test, not a single brochure number. Ask the supplier to state the assumption in writing and show how the proposed product or workflow addresses it.
Plan Inputs, Switching, and User Control
List laptops, room PCs, wireless presentation tools, video-conference codecs, signage sources, and backup inputs. Decide whether users need one-touch presets or a staffed control position.
Complex routing can turn a simple meeting into a support call. Presets should match the actual meeting types and recover cleanly after a power interruption. Ask the supplier to state the assumption in writing and show how the proposed product or workflow addresses it.
Design Quiet, Accessible Service
Confirm front or rear service, wall depth, ventilation path, power-isolation points, and module-removal space. Keep fans, power supplies, and adjacent HVAC noise within the room’s acoustic goals.
Maintenance should not require dismantling finished walls or moving the conference table. Access decisions belong in the architectural package. Ask the supplier to state the assumption in writing and show how the proposed product or workflow addresses it.
Conference Room Approval Table
Use the following table to keep the conference room LED wall discussion specific. Replace generic answers with project values, named documents, and an owner for each open item.
| Buyer check | Why it matters | Evidence to request |
|---|---|---|
| Closest viewing distance | Drives readable pixel density | Room plan with seat positions |
| Native canvas | Controls content scaling | Pixel map and processor canvas |
| Camera performance | Affects video calls and recordings | On-camera test clips |
| Input workflow | Determines daily usability | Signal diagram and preset list |
| Service access | Controls downtime and wall depth | Section drawing and removal demo |
A Practical Approval Sequence
Here is the straightforward way to use this information. Add the requirement to the RFQ, send the same supporting drawings and operating details to every bidder, and ask each supplier to answer against the same checklist. If a value is unknown, mark it as an open item instead of letting someone make a silent assumption. That makes the commercial comparison much cleaner and gives engineering a useful exception list.
During Quote Review
Walk through the supplier’s response with purchasing, the technical owner, the installer, and the team that will operate the display. Ask for model-specific evidence rather than a general brochure. When two suppliers propose different approaches, compare the effect on installation labor, access, power, content, spares, training, and downtime. A lower equipment price can disappear quickly if another trade must solve an omitted interface.
Before Production or Shipment
Freeze the accepted answer in the purchase specification, drawing register, and inspection plan. Use a sample, mockup, factory test, or document review that matches the risk of the item. Record settings, test conditions, photos, measurements, file names, and approved exceptions. If the product or method changes, reopen the affected approval instead of assuming the original result still applies.
At Installation and Handover
Repeat the checks that depend on the finished site and the operating team. Confirm labels, access, configuration backups, spare parts, safety steps, and the person who owns each routine task. Then close the requirement with an as-built record that a technician can understand months later. This last step is easy to skip, but it is what turns a successful installation day into a supportable system.
Conference Room RFQ Checklist
- Room dimensions and complete seating plan
- Closest and farthest viewing distances
- Required active width, height, and pixel canvas
- Camera, codec, and recording requirements
- Input list, switching logic, and user presets
- Acoustic, heat, power, and ventilation constraints
- Front-service or rear-service access plan
A checklist works best when it is tied to a date and an approver. Decide which items are needed at quotation, sample review, pre-shipment inspection, installation, and final handover.
Warning Signs to Resolve Before Ordering
- Pixel pitch is selected without testing small meeting content
- The proposal omits camera validation
- No one owns source switching and control programming
- Finished-wall details block module or power-supply removal
One warning sign does not automatically disqualify a supplier, but it should trigger a clearer question, a sample check, or a written exception. Silence is not the same as agreement.
Connect the Requirement to the Full Project
Use one approval sheet that connects the viewing goal to pixel pitch, brightness, size, content resolution, mounting, control, and maintenance. This gives both the buyer and supplier a practical reference. Useful related resources include the resolution planning guide, refresh-rate buyer guide, viewing-angle buyer guide.
Approve the Room Experience, Not Only the Wall
A successful conference room display should be readable, camera-friendly, quiet, simple to operate, and serviceable. Test those outcomes with the room’s real content and equipment. A well-defined conference room LED wall requirement gives suppliers the same target and gives the buyer a fair way to compare and accept the result.
For a practical recommendation, send Mirun Hailian your room plan, viewing distances, wall size, meeting content, camera list, input sources, and service constraints. The team can use those inputs to prepare a more relevant configuration and quotation.
Need help choosing the right LED display?
Tell us your installation scene, screen size, pixel pitch target and timeline. Mirun Hailian can help match the right product configuration.